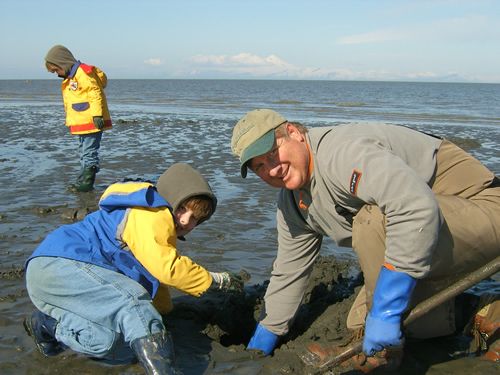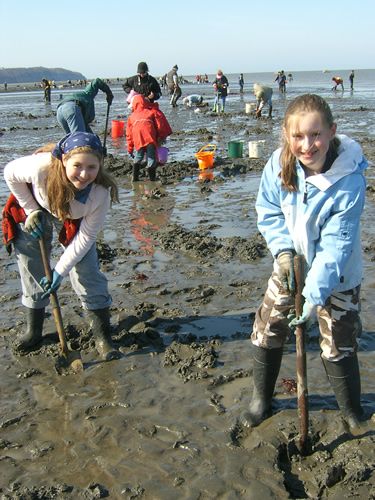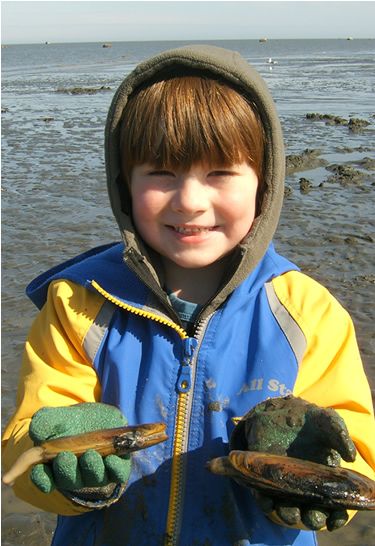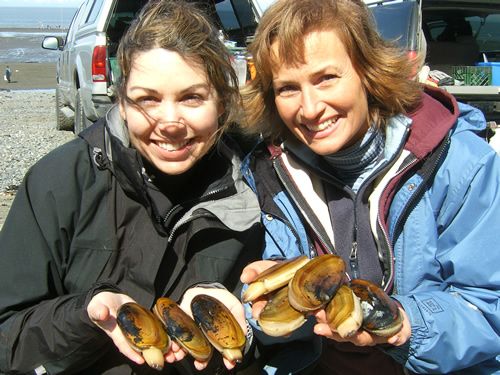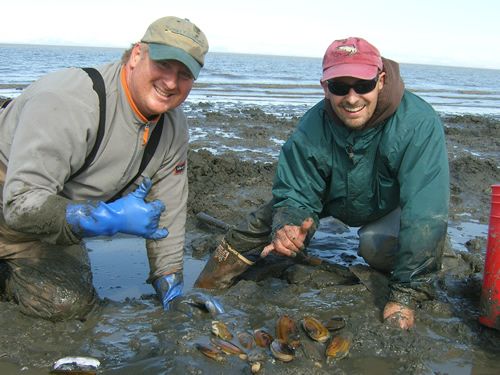


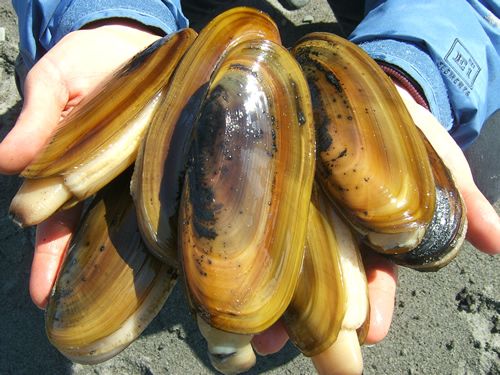
After an adventurous & successful day of clamming for Alaska Razor Clams--Siliqua patula on the beaches of Cook Inlet (stretching from Kasilof to Homer on both sides of Cook Inlet) known for being some of the most productive clamming grounds in the world, most diggers will have a bucket of tasty clams needing immediate cleaning and preparations.
If you know what to do, and the tools you'll need to make quick work of it, the task is not nearly so overwhelming as it might otherwise seem. While it's difficult to explain all the intricacies of the cleaning process in words, we'll give it a go here to help you on your way. The best way to learn of course is by watching someone who is experienced at the task.
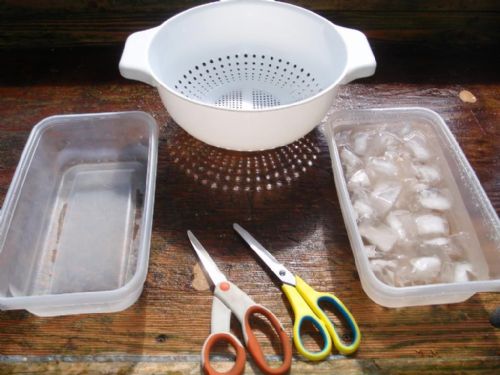
Here's what you'll need:
--Pot of boiling water to open clam shells and remove seal. We use an old one, dedicated for boiling clams, and we keep it boiling on a propane powered burner outside at our fish cleaning station. A side burner on a Gas BBQ works well too. Don't try it inside, too messy.
--Large bowl of ice water, lot's of ice to cool popped clams in shell.
--Bowl of clean water for final clam rinse..
--Clean container (plastic or glass bowl, etc.) to put cleaned clams into.
--Scissors or knives.
--Cold Beer & Patience!
Here are the basic steps:
1. Boil water and keep it boiling.
2. Dip whole clam in shell into boiling water for 5 seconds or so until clam shell just pops open.
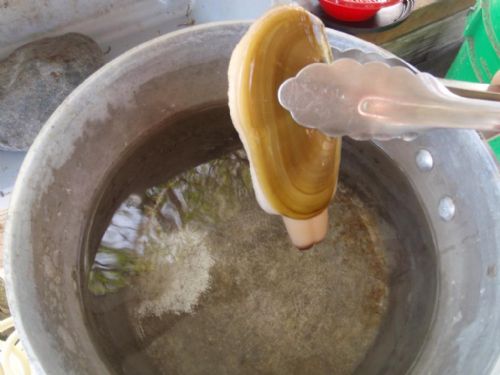
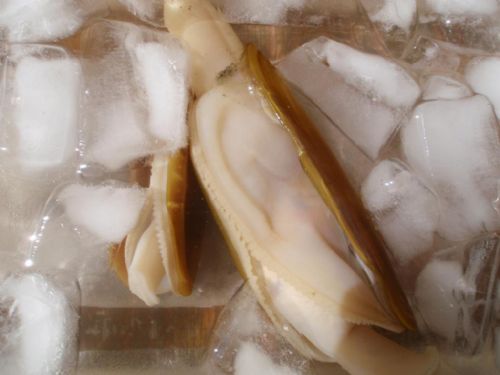
3. Immediately dip whole clam in shell into ice water to cool back down (we don't want to cook them, it will make the clams tough). This step also helps remove some of the sand that may not have come off in the boiling step.
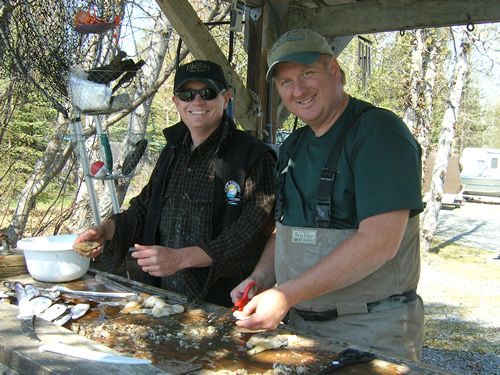
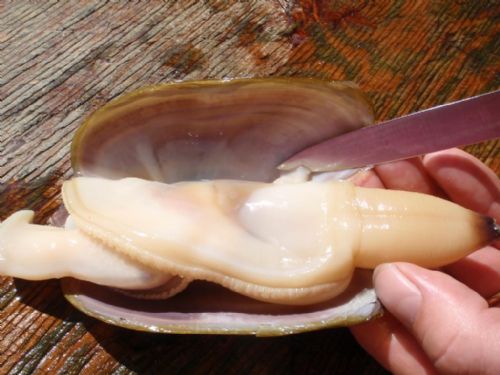
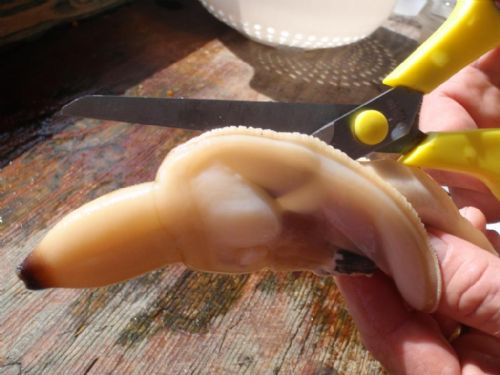
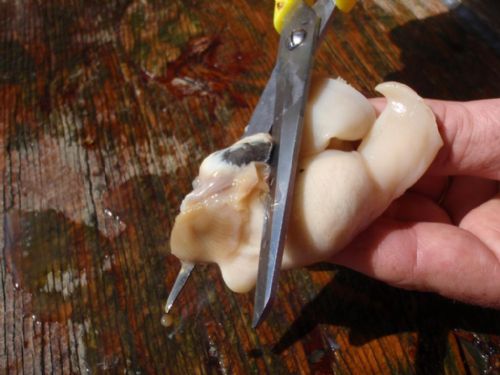
4. Remove clam meat from shell, with a knife, using care to slice the attached "scallop" like meat from the shell, keeping it all in one piece of meat if possible. This "scallop" is the last piece holding the meat to the shell and is quite delicious.
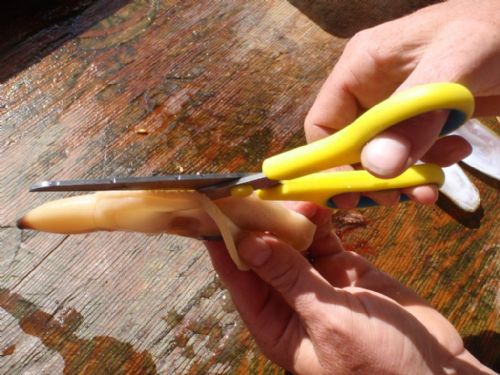
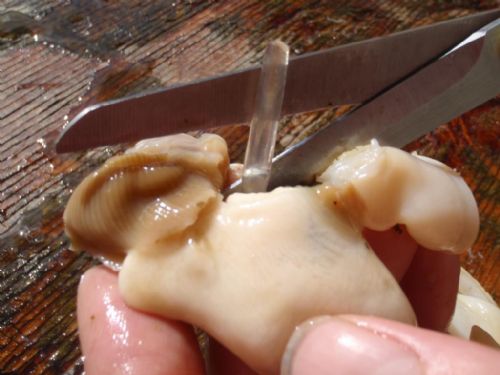
5. Holding entire clam meat in your left hand, use scissors in your right hand to cut up the "zipper" like piece of flesh, from the round bottom opening all the way up through the double tubed neck piece. This will open up the clam meat into a flatter piece.
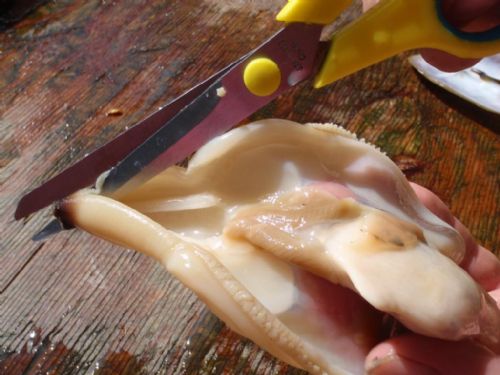
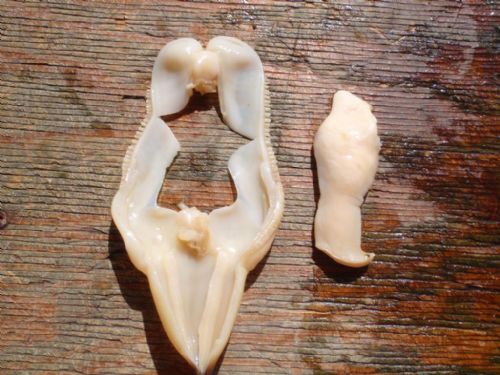
6. Now basically cut away the dark "guts", etc. from the good creamy white flesh. Inside the stomach area, where most of the dark guts are, is also a sypen (clear, tube like hard piece about 3 cm long), be sure to remove this.
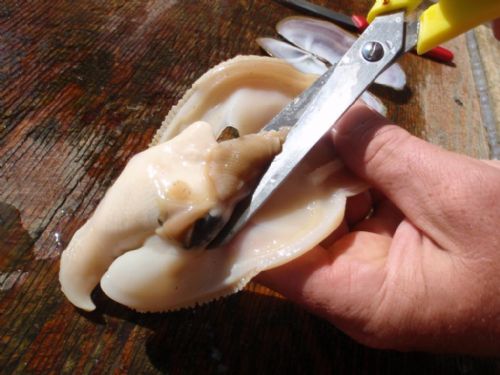
7. Now you can do a final rinse to make sure all sand and guts are gone, drip dry, then put in the clean container for cooking, cold storage, or vacuum packing and freezing. (Hint: If you vacuum pack, first wrap the clam meat in plastic wrap, then place in vacuum bag and freeze.)
For recipe ideas, including Panko Fried Clams, Seafood Chowder, and Riesling Clams, please visit our Alaska Cooking Blog.